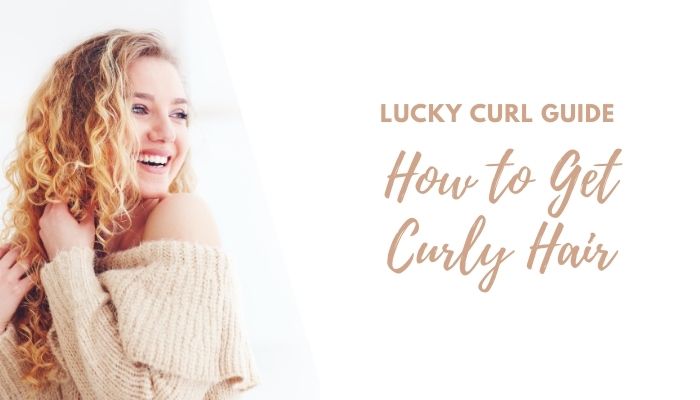
As a practicing hairstylist, I’ve worked tools and hair of every type. Hair curling is one of the things people are curious about and it can be daunting if you’re a beginner.
I drew on my experience as well as doing my research into common curling techniques and compile it into one easy-to-follow guide. This article includes tips on how to curl hair with flat iron and create all occasion styles from beachy waves to Hollywood glam curls.
While a curling iron is designed specifically to create curly hair styles, a flat iron can be a great option for those that want just one styling tool. It’s surprisingly really easy to use and there are so many different styles of curls that you can create.
After reading this guide, you will know:
1. How to prepare your hair for hair straightener curling
2. The different types of curls you can create with a straightener
3. The tried-and-tested techniques for curling with a flat iron
Follow the tips below to perfect your hair curling technique.
Why can’t I curl my hair with a flat iron?
Curling your hair with a flat iron comes down the preparation and the right technique. Below we explain how to prep your hair for perfect curls and step by step techniques on achieving specific types of curls.
- You’re not prepping your hair well.
- You’re not sectioning your hair the right way or straightening sections that are too large.
- Your flat iron doesn’t get hot enough.
- You’re using the wrong technique.
How to Curl Your Hair with Flat Iron Like a Pro
Decide on what kind of curls you want.
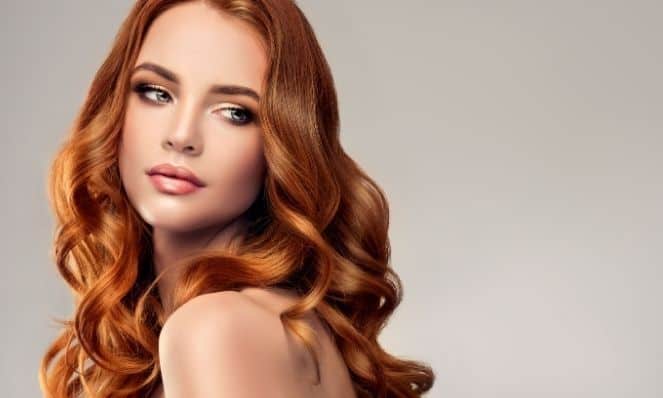
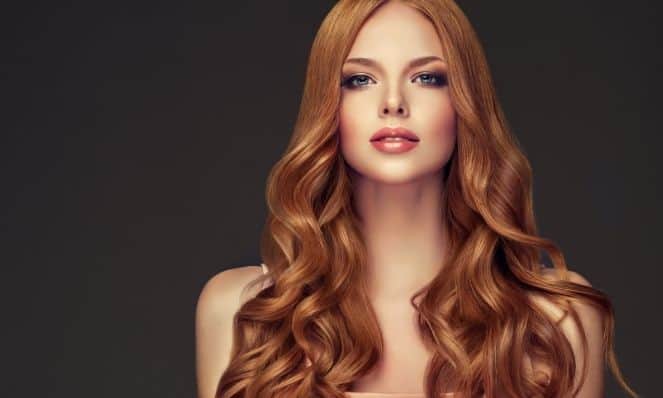
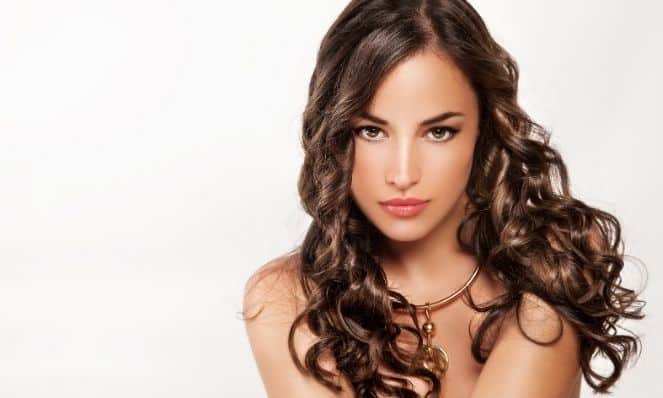
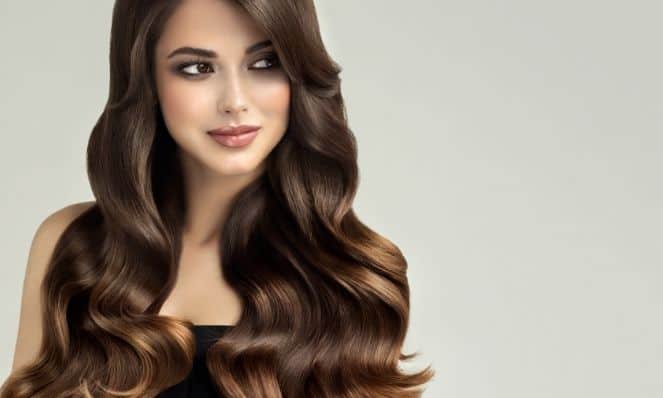
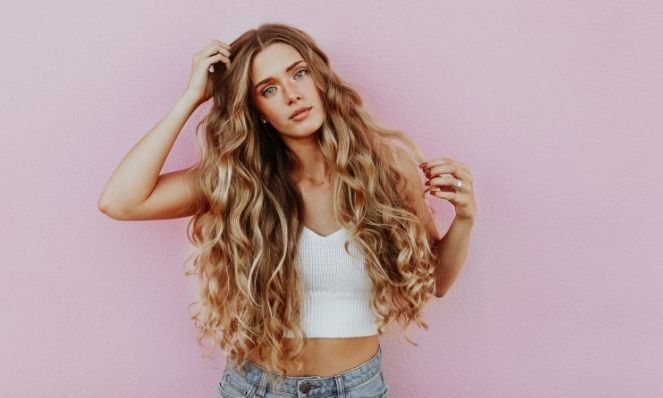
Before curling, you need to begin with a goal in mind. The type of curl depends on occasion, mood, or preference. Beachy waves look effortless, perfect for a day out. Romantic S-waves will wow any date while bouncy, voluminous ringlets are perfect for days when you want to feel like a femme fatale.
Still can’t figure out what type of look you want? Try browsing Pinterest or scour the internet for inspo.
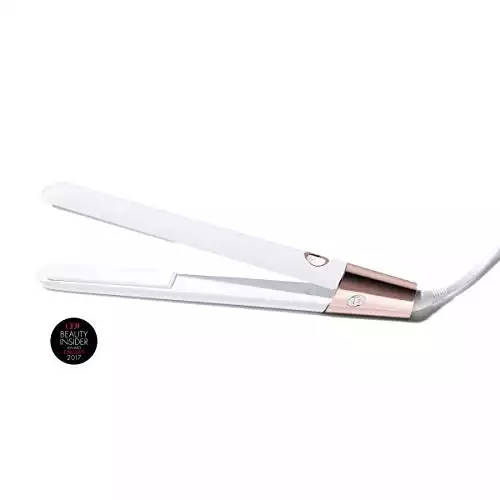
Choose the right hair straightener.

- Ceramic-Tourmaline Plates
- 8 HeatBalance Micro-Sensors
- Instant Heat Recovery
There are several factors you will want to consider when finding the right straightener:
- Plate type
- Plate width and shape
- Product design
- Adjustable heat settings
- Your budget
The best flat iron for curling is made of high-quality materials and has a rounded shape that can twist curls without leaving dents. Ceramic, tourmaline, and titanium are the most popular plate options. I recommend a plate width of 1-inch or smaller for long-lasting waves.
Pay attention to the handle. You’ll be twisting and holding the flat iron at an angle so ideally, it should have an ergonomic design and feel grippy. Take note of the flat iron’s weight, since curling your hair takes longer and feels more taxing on the wrists.
Lastly, strike a balance between cost and quality and pick a hair straightener with variable digital temperature controls which results in even heat distribution.
Can’t decide which hair straightener is right for you? Check out our guide on the best flat irons for curling hair.
Prepare your tools.
To smoothen the curling process, here are some things you need to have within reach.
- Heat protectant
- Clips or hair ties
- Hairspray
- Texturizing spray or dry shampoo
- Shine serum
- Brush
- Wide-tooth comb
- Any styling products appropriate for your hair’s needs (like anti-frizz sprays)
Get your hair curl-ready.
You should have fully dry hair before you use a flat iron. Wet or damp hair will not hold a curl. It’s fine to curl second or third-day hair because the oils and dirt give the curls grit and hold. If you are curling on freshly washed hair, you can blow dry and apply mousse beforehand.
Detangle your locks well with a comb. Make sure the mane is not coated with product. Next, apply a heat protectant on the lengths of the hair. I always emphasize the importance of heat protectant before heat styling for preventing damage.
If you’re using a frizz control product, run it through your locks as well.
Divide your hair into manageable sections.
The key to creating hassle-free and salon-quality curls is proper sectioning. Divide your hair into three horizontal sections, from bottom, middle and top. Then, gather smaller sections from each row as you go. Take out larger sections for loose waves and smaller sections for defined curls.
Work on the section close to your nape and keep the rest of the hair tied or clipped. Thick hair can also benefit from extra sections (left and right).
With some trial and error, you’ll figure out what technique works best for your hair.
Step-by-Step Guide to Curling Hair With a Flat Iron
Here are some the techniques you can use to curl your hair with a straightener.
The Basics: Easy Curls
This is the simplest route to take for absolute beginners.
- Grab a small section of hair, around one inch to half an inch wide.
- Clamp down the hair straightener gently near the root of the hair or wherever you want the curl to start.
- Wrap the hair around the barrel twice (front and back).
- Hold the ends of the hair and pull the straightener down gently. You can also twist the flat iron as you pull it down.
- Go through the next sections, alternating the directions of the curls so it looks more undone.
- Let it cool and finger comb or brush through.
Beach Waves
Beach waves are easy to do. This style looks effortless and is actually effortless. Here’s how you can achieve this.
- Using your hair straightener, start at the base of the section. Clamp down and make a C-shape with the hair. The C should turn outwards. Make the C-shape long if you want a beachier look.
- Next, create another C-shape in the other direction, continuing from the previous C. This makes an S-shape overall.
- Repeat until you are near the end of the hair.
- Leave some space at the tips. You want this to stay straight.
Bouncy Curls
This type of curl is full of volume and looks more rounded. You’ll use a ribbon-like technique to achieve this.
- Clamp the iron down on the hair, starting one inch away from the scalp, making sure the barrel is vertical and turned slightly away from your face.
- Make a half turn with the iron outward.
- Hold the ends taut and pull down the hair straightener halfway down.
- Twist the iron another 180-degrees away from the face.
- Pull through the whole way, still holding the ends.
- Repeat for the other sections.
Glamorous Waves
Since we’re after Old Hollywood glamor, use wide sections so the results look elegant and polished. Hold the iron horizontally the whole way through. You will use a sliding motion through the lengths.
- Straighten the roots of the hair. Hold the ends of the section gently.
- Essentially, you are making large dips on the lengths of the hair as you pull through it and alternating the directions of the C-shaped dips. The motion should be like twisting the handle of a motorcycle to rev up the engine.
- Smooth down the dips a couple of times if the iron forms creases before moving on downwards.
- How you finish off the tip is important. Make sure to curl the ends underneath. Another tip is to make the placement of the bends in the same place throughout the sections.
The best part about this technique is its flexibility. You can make the C-shapes bigger or smaller. Big waves look cool and effortless while small waves look messy and casual.
Mermaid Waves
This type of curl works better if you prep your hair with a light mist of texturizing spray. Be patient because it takes time as you’re working with smaller sections.
- Take a small section of hair and start an inch or so from the roots.
- Take an open flat iron and position it horizontally near the base.
- Tap the hair multiple times down the lengths of the strands. The other hand is feeding the hair into an S-shape. Tapping here means opening and closing the flat iron on the hair shaft.
- Rock the hair back and forth with your other hand to create the shape, making sure the waves are small and close together.
- Leave the tips uncurled then break the curls up gently. Separate the sections with your fingers so the curls look undone.
Let cool and finish off with a spray.
After your curls have cooled, run your fingers through your mane, or use a comb or a brush. You can also rough up the roots a little.
Mist a hairspray on the curls. A pro-tip is to do this after finishing each section of the hair, then spraying again after you’ve done the entire mane.
You can also opt for a texturizing spray such as a sea salt spray or a dry shampoo. Alternately, if you’re doing a glam look, smooth down the hair with a high shine serum.
Flat Iron Curling Tips
- Practice makes perfect. To do this safely, practice these techniques with your straightener turned off.
- Observe how much pressure you’re applying when you clamp, how fast you pull the flat iron through the lengths, and the heat setting you choose. Experiment with these factors.
- Only tackle 1 inch sections at a time
- Once decided on a technique, continue to curl your hair in that same style – don’t switch techniques half way through!
The Bottom Line
I love how versatile flat irons are for styling and if I can pick just one styling tool, it would be a flat iron. Curling hair with a straightener does require some practice so don’t feel pressured when you don’t get great results right away. I hope these techniques gave you ideas on changing up your hair with a flat iron.
If you’re interested in finding the best hairstyling tools and tricks, check out our other articles.