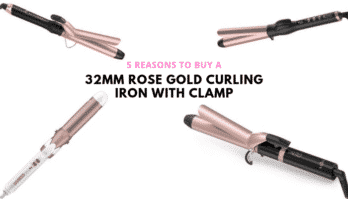
Wondering how to use a curling iron with a clamp? Traditional curling wands come in two types: a built-in clamp and a clipless kind. Choosing which curling wand to get is a matter of personal preference, but each product has its own pros and cons. Some love the idea of a curler with a built-in clamp, while for others, it’s a deal-breaker.
The clamp is designed to hold the hair in place while styling it. This feature is perfect for individuals who are either new to hair styling or those who want to simplify the process of curling their hair. Most curling iron sets come with heat protectant gloves, but if you don’t want to use such products, then a curler with a clamp will be most helpful to you. Lucky folks with shiny, extra smooth hair fall in love with curling wands with a clamp because these tools make styling completely fuss-free every time.
A personal curler with a built-in clamp may look intimidating, but it’s easier to use than you think!
This article will take you through how to use a curling iron with a clamp, our top tips for using a curling iron with a clamp, and some of our favorite curlers.
A Step-by-Step Guide on How to Use A Curling Iron with A Clamp
Step 1 – Prep the Hair
This is a crucial step for achieving beautiful results with a curling iron. Wash your hair with a volumizing or frizz-fighting shampoo and conditioner before curling.
Then use a blow dryer to completely dry the hair. A straight blow-dried style is generally excellent to start before using a curling iron.
Grab your favorite heat protectant and ensure your hair is well-coated before styling.
Let the curling iron warm up a minute or so before styling. Those with fine hair will want to make sure you use the lowest heat setting.
Step 2 – Create Sections
Part your hair in the middle or in a side part – depending on how you want to wear it.
Then divide your hair into 2 to 3 sections. You might have to divide your hair into 3 to 5 significant sections to make styling more manageable if you have thick hair.
Step 3 – Twist & Hold
Start with a small section of hair, curling the hair around the barrel with the clip open. As you curl from the bottom of the hair to the top, clip the clamp near the roots.
This is an excellent method to avoid a clamp mark when using a curling iron with a clamp.
Step 3 – Release & Style
Hold the curling iron in place for a few seconds and then release the clip, which will gently release the curl.
Repeat by continuing to curl your hair in sections until you’re done. Give your curls a shake, a brush, or a flip, then set the curls in place with your favorite hair styling product, and you’re done.
Tip! Don’t wait until you see signs of dryness and use the right heat-protective product.
7 Helpful Tips For Using a Curling Iron with a Clamp
Tip 1 – Work in Sections
This seems like a no-brainer but never skip this, especially if you have thick hair! One of the reasons most people favor clipless curlers over curling irons with a clamp is that the latter tend to produce unsightly creases and frizz. The creases make the curls that do not look natural, misshapen even.
The simplest, most straightforward way to address creases and create a curled look is to work the hair into smaller sections. The thicker the hair, the smaller the hair sections. If the hair section is too thick, the clamp won’t hold the entire section, which could lead to pesky creases! The hair section should fit the clamp perfectly; no ends should peek out of the clamp.
Tip 2 – Curling Thick Hair
How to use a curling iron with a clamp when your dry, thick hair can’t hold a curl? Try holding the curling iron vertically with the clamp facing forward. Clip a 2-inch section of your hair halfway up, twist the curling iron away from your face to get close to the roots then hold. Wait for a few seconds, release the hair section, and then curl the same section again about an inch or two from the ends.
The direction of the curler and re-curling the same hair section will help stretch the life of your curls! Don’t forget to give your curled tresses a spritz of strong-hold hairspray to extend the longevity of the curls.
Tip 3 – Bouncy, Voluminous Curls
One of the best tips if your hair lacks volume or body is to curl the hair sections in different directions. Alternating between inward and outward curls pumps up the volume, especially in the mid-length sections of the hair. Also, curl close to the hair roots. Be sure to finish up with a spray of extra strong hold hair spray so the curls won’t fall flat.
Tip 4 – Undone Beachy Waves
I cannot get enough of beachy waves; they’re so flattering. Although beachy waves could be one of those passing trends, I feel that they are here to stay!
If you love relaxed curls as much as I do, try this trick:
Clamp a hair section halfway on the strand, so the curls aren’t too high up. Then, twist the barrel in one direction, away from the face towards the back of the head. As you twist, leave more space between the hair portions to create bigger curls. Don’t curl all the way to the ends to give your tresses a more un-done, lived-in look.
Also, curl for less time for even looser curls, about 75 to 7 seconds per hair section. Finish up with a spray of your favorite hairspray or a dollop of hair mousse to set the curls in place.
Tip 5 – Creating Defined, Tight Curls
If you love the look of tighter curls, I would search for a curler with 1) a smaller barrel with a clamp and 2) the ability to reach high temperatures. The smaller barrel helps you create tight curls while the clamp sets the hair section in place for added definition. The high heat, of course, curls the hair efficiently, extending the life of your curls (around the 400-degree mark). You want to twist the curler all the way up to the base of the hair strands for added volume. Getting near the roots helps address limpness so hair won’t deflate by the afternoon.
Rake your fingers through your freshly styled hair so the tight curls would look natural. This trick is perfect for thick, coarse hair that refuses to behave. Just be sure to apply a heat protectant product and be mindful of the curling time so you don’t end up burning your hair in the process. Finish up with your favorite hairspray for best results.
Tip 6 – Tilt the Curler at an Angle
The dreaded crimped curl is a common problem when styling the hair with curlers that come with a built-in clamp. Thankfully, it’s easy to avoid the unnatural crimp by simply holding the curler at the right angle. Tilt the curler to a slight angle as you twist the curler near the head to smooth the harsh creases. If you have long hair, you must curl your tresses near the hair root to avoid the crimped look.
The general rule of thumb is, hold the curler horizontally for defined, bouncy curls and iron vertically for looser, beach waves. Holding the curler diagonally is best for pumping the volume at the hair roots. Finish up with hairspray or apply a volume-plumping mousse to preserve the life of the curls.
Tip 7 – Use a Heat Protectant Glove
This may seem like a simple (and obvious) step, but it is always recommended to wear heat protectant gloves when using any hot styling tool. Particularly when it comes to curling wands with clamps, this would be useful for hair that may get stuck. The gloves will give you more control over the styling products, so you don’t end up scalding your head by accident!
Pros and Cons of a Curling Iron with Clamp
If you’re considering whether to buy a curling iron with or clamp or without, let’s look at the benefits and downsides of a curling iron with a clamp.
Pros
Fuss-Free Styling
If you want to make hair styling so much quicker in the morning, you will love a curling iron with a built-in clamp. It allows you to curl your hair with ease. There is no need to use hair clips to set your hair in place as you curl your hair because there is a giant clamp built right into the device. Convenient, right?
Defined Curls
If you love defined curls, then a curling iron with a clamp is the best styling tool. The clamp changes the way you hold the device, allowing you to create tighter curls, not loose waves.
User-Friendly
Hear me out! Curling iron with a built-in clamp may look intimidating but trust me, once you use a curling iron with a clamp, you will realize styling has never been easier. I feel that this curler is more user-friendly than a standard clip-less curler because you’re simply wrapping the hair around the barrel and then waiting for the curl to set. That’sThat’s it.
With a clip-less curler, you have to hold the hair in place as you curl your hair, which can be a burden for some. Also, you might end up burning your fingers or getting a crick in the neck because you are holding your hair every time you wrap the hair around the barrel.
Cons
Misshapen Curls
Curling iron with a built-in clamp could cause the dreaded crease when used the wrong way. You have to refine your technique to achieve the perfect curls. I highly suggest practicing with the wand turned off until you learn how to hold the curler properly.
Bulky
The built-in clamp adds to the curling iron’s bulkiness, which is a bad thing if you want to take your hair curler with you while traveling. If you are after portability, then a curler with a built-in clamp is definitely hard to lug around unless you have extra space in your luggage.
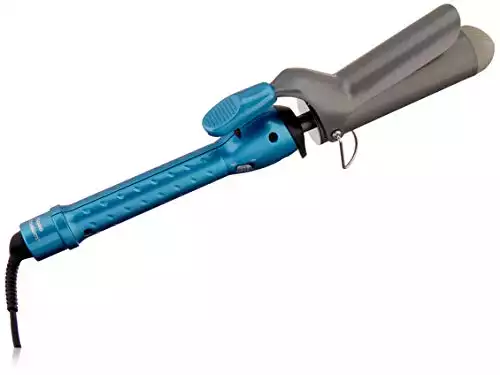
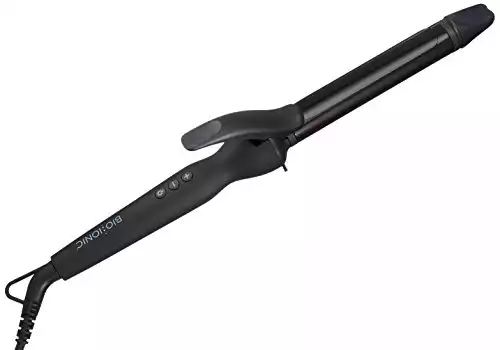
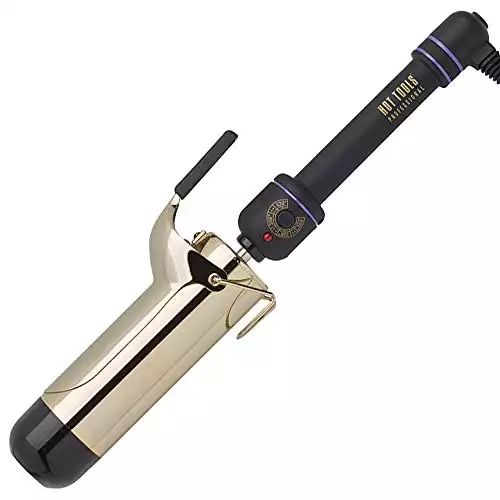
Best Curling Irons with a Clamp
If you’re sold on the idea of a curling iron with a clamp, check out some of our favorite curlers below.
- Bio Ceramic Barrel
- Natural Volcanic Rock Minerals Technology
- 5-Second Heat Technology
- Infrared Technology
- Moderate temperature of 250F to 430F maximum temperature
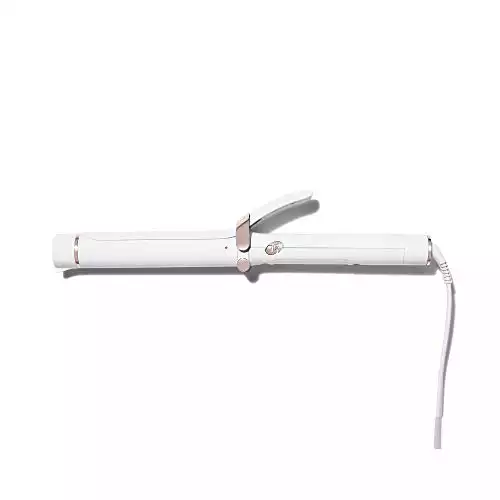
- T3 Custom Blend Ceramic barrel
- SmartTwist Dial
- SinglePass Technology
Wrap Up
We hope this guide helped give you a better idea of using a curling iron with a clamp.
The clamp takes a while to get used to, but it makes styling in the morning more manageable and more convenient. Start practicing before a significant social event if you are new to hair curling. Most brands have step-by-step video tutorials online. Once you have the proper technique down pat, you could play with the clamp and experiment with different hairstyles!